I don’t know about you, but I definitely believe there’s nothing cuter than a kid in an adorable holiday-themed shirt. It seems that nowadays, the schools are always planning themed days.
While I love it, I can imagine this could be quite the headache for the parents out there. That’s why I’m sharing these fun kid’s St. Patrick’s day shirts and how to make them.
This post contains affiliate links. Affiliate links I may earn advertising/referral fees if you make a purchase through my link, without any extra cost to you. It helps keep the lights on. Thanks for your support.
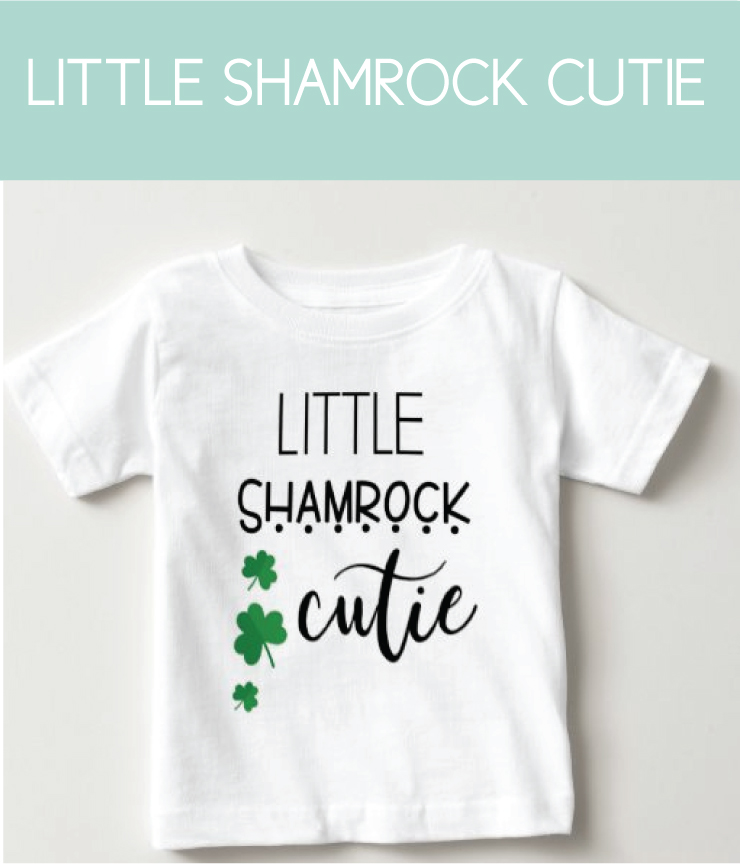
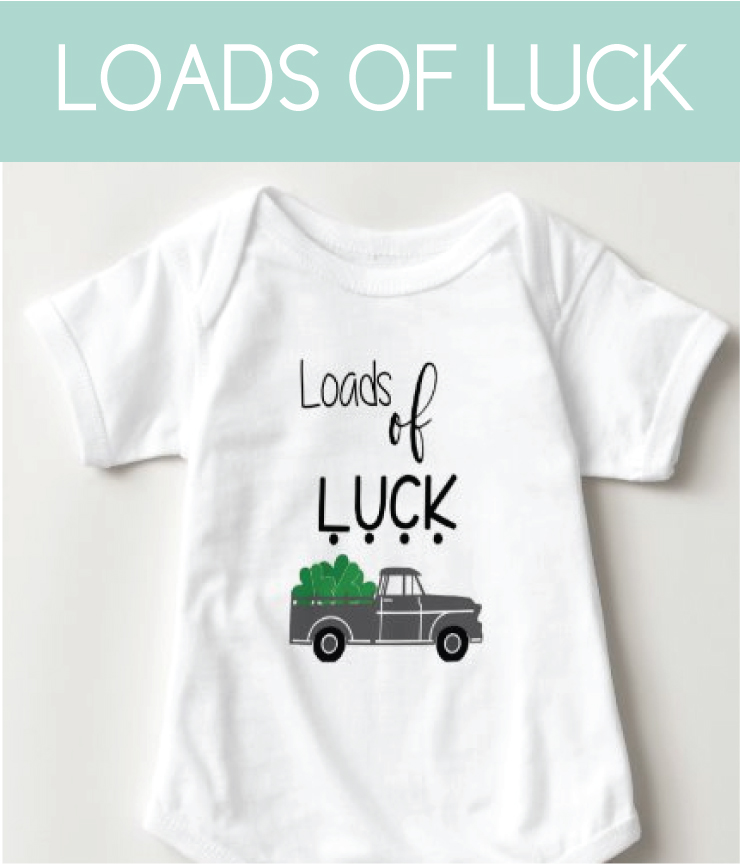
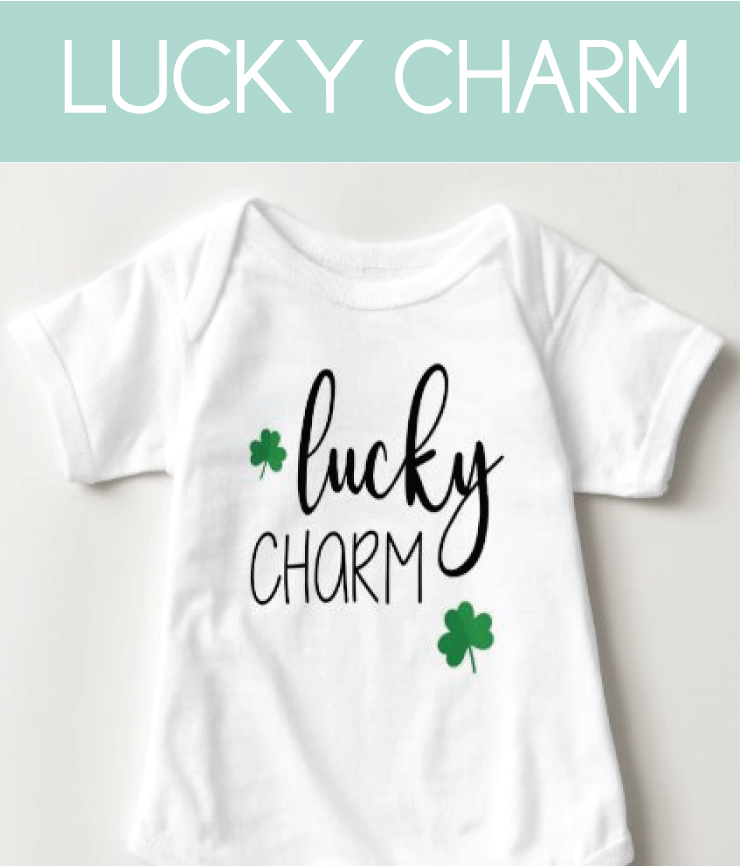
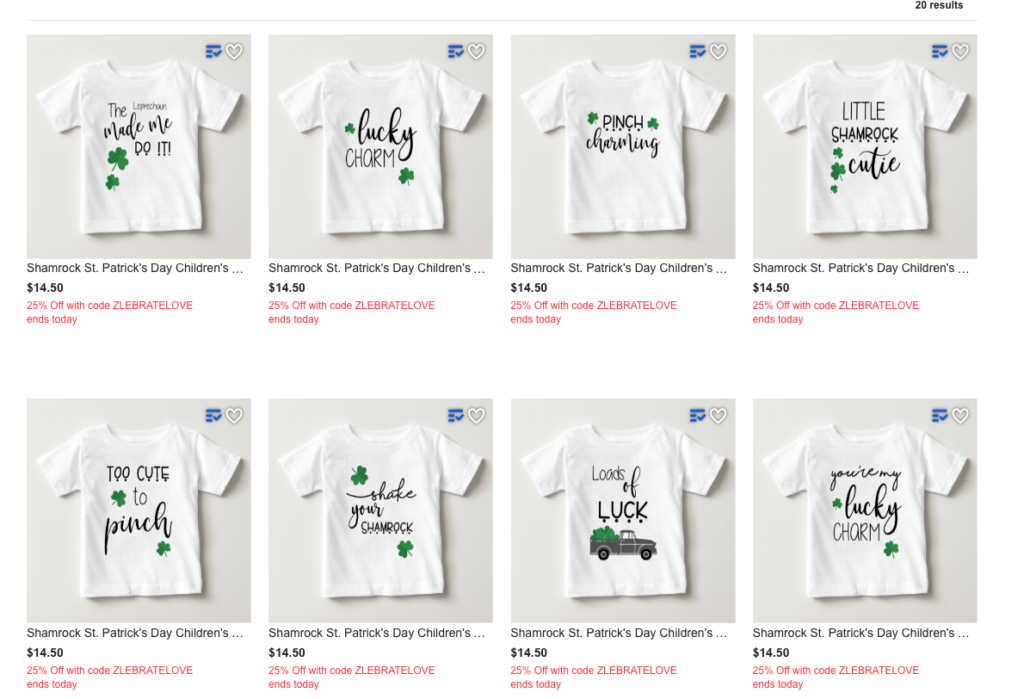
First things, first, you’ll need something to put on those shirts. That’s why I’ve researched lots of different sayings that are perfect for your St. Patrick’s Day shirts. You can find all the sayings below. Shop the shirts on Zazzle, the graphics in The Printables Club, or keep reading to learn how to design your own.


Next, you’ll need graphics in order to create the shirts. You can download the free gnomes on the Journey Junkies page but that’s jut a start. The rest of the designs can be made with simple fonts or join The Printables Club for access to all our printables.
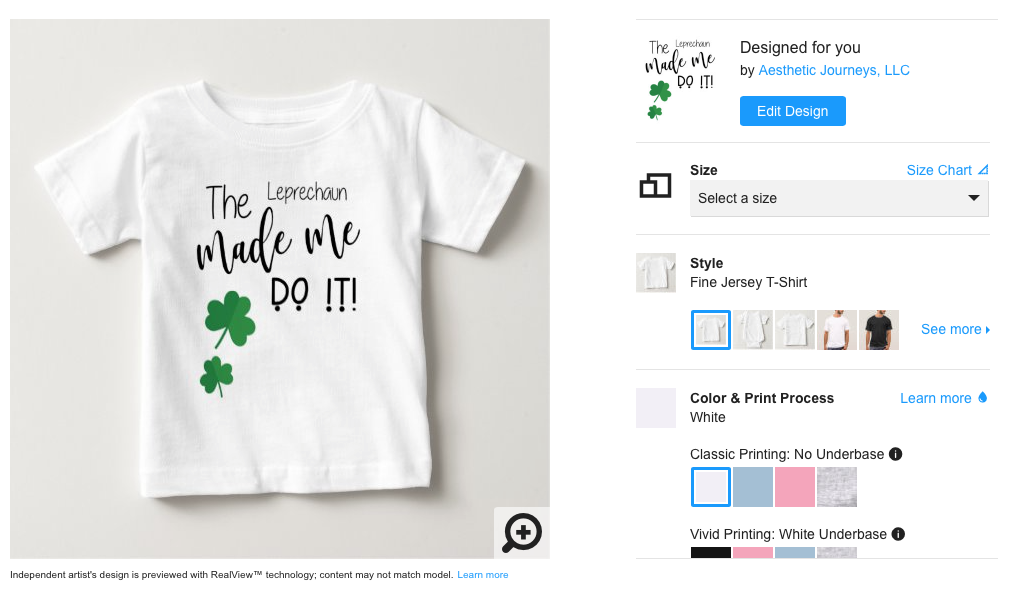
So now you’ve got your graphics and your sayings, for the next few steps you’ll want to utilize JPEG or PNG files ideally. Head over to Zazzle. It’s is where I create home goods, t-shirts, decorations, and more. The great thing about Zazzle is that you can simply customize already created designs, or make your own. I’ll show you how.
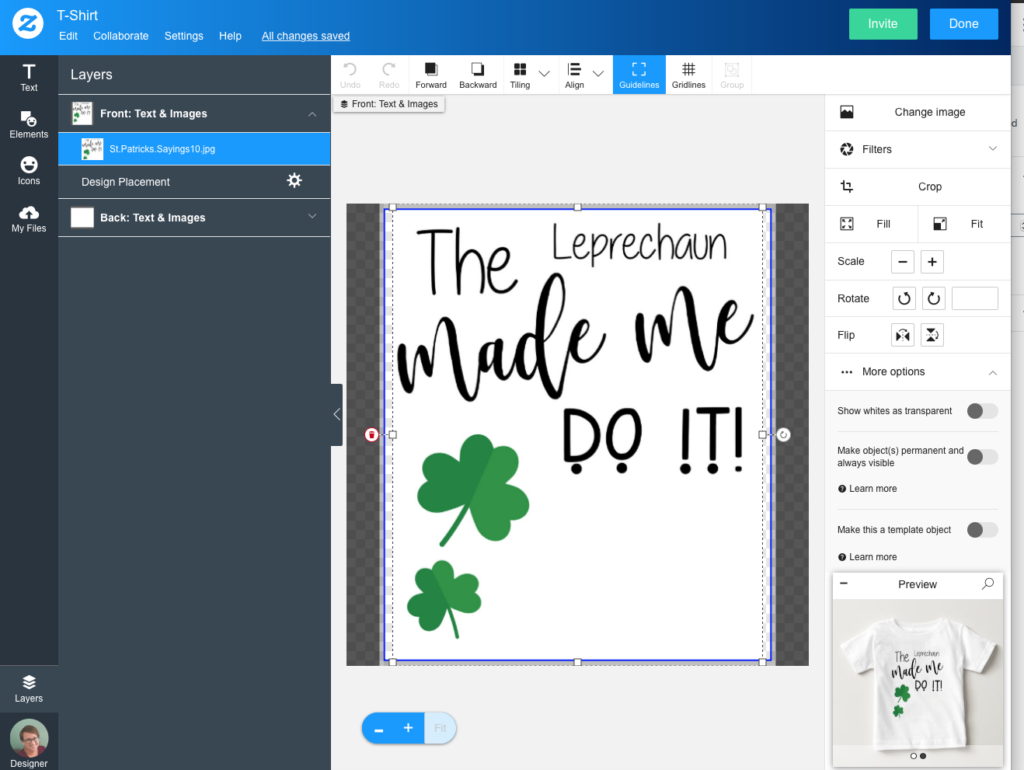
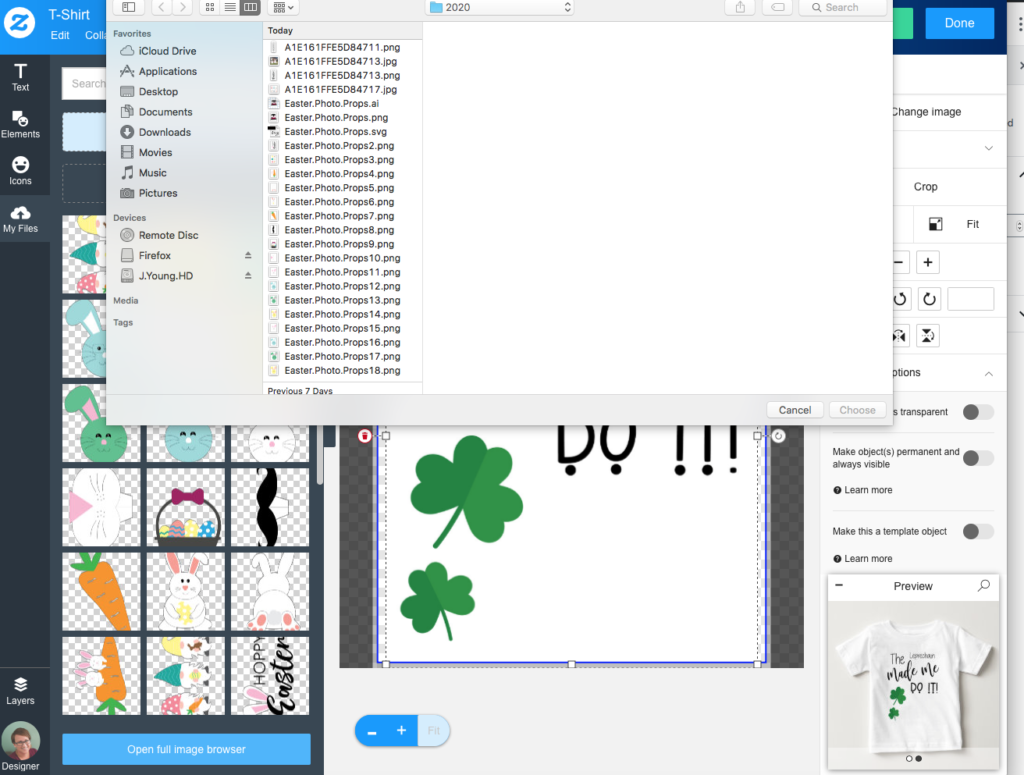
That’s it! There’s really not more to it than that. If you want to create from scratch, it works the same way, however you simply start at a different window. You can see a screenshot below of where you create items from scratch. You’ll want to choose to “create your own” and you’ll see loads of different blank items just waiting for your special touch!